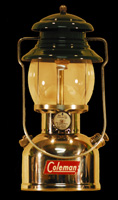

 How to Replace a Coleman® Fuel Filler Cap Gasket
You should always have a modern replacement fuel filler cap on your vintage lantern and stove when using it whenever possible.
Appliances made prior to 1963 (exact date unknown) came with a 3-piece filler cap 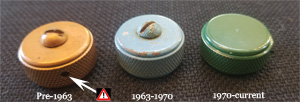 with a small hole in the side. The hole is there to ventilate pressure when unscrewing the cap. It can spray a stream of fuel in the direction it happens to be pointing when depressurizing.
THIS CAP CAN BE EXTREMELY DANGEROUS! Read the news article in the left side bar <--- and watch this YouTube video.
 I strongly urge you to use a replacement filler cap when actually using your appliance, whenever possible. Keep that pretty original one safely somewhere else.
But you can't always do this, because a number of vintage appliances didn't use the standard size filler cap. This includes old Quick Lites, the 242/243 series lanterns and the model 500 stove, among others. As far as I know, replacement filler caps are not, and have never been, made for those appliances.
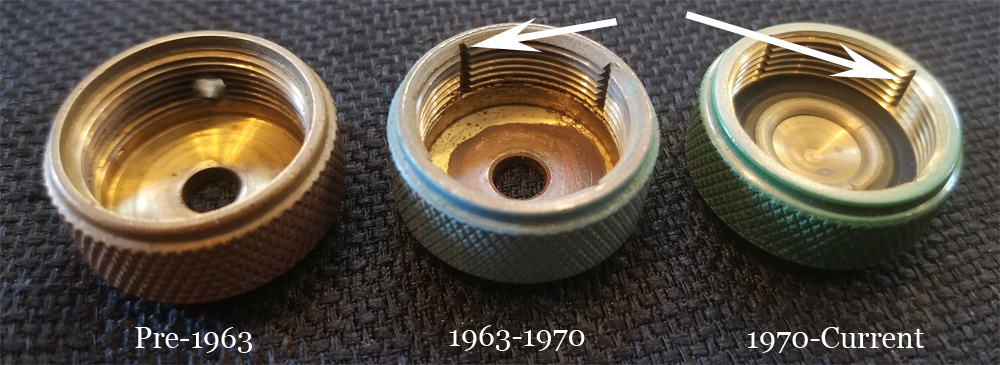
The cap was replaced in 1963 with a 3-piece design with "slots" on the inside, intended to redirect pressure down and away from danger. This cap was called the Plamann cap (see patent). In 1970 an even safer cap was introduced, a one-piece unit, and it is the same cap being sold today.
* Special thanks to Alain C. of St. Hyacinthe, QC Canada for pointing out that Coleman Canada made 1-piece filler caps with a side pressure release hole in the early 1960s, and also used a Plamann-style 1-piece cap as early as 1965.
Over time, the rubber gasket in the filler cap can distort, harden and lose its ability to maintain a proper seal. They can be replaced but use caution in selecting the right gasket. You can't just go to the hardware store and buy one, and some on-line retailers will try selling you an O-ring rather than a gasket.
An acceptable fuel filler cap gasket will be impervious to gasoline and kerosene and will fit properly in the cap or cap insert. I recommend the units being sold by www.oldcolemanparts.com.
1. How to Replace a 3-Piece Filler Cap Gasket. To replace the gasket you need:
a. A replacement gasket from a reputable source. Don't use an o-ring.
b. Large and small flat tip screwdrivers
c. Propane torch
d. Small firm brush
Tighten the filler cap down on your lantern or stove as tight as you can get it with your fingers. Take a large flathead screwdriver and turn 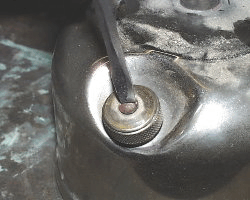 the large center screw counterclockwise to remove it.
If the screw "slips" or turns too easily, spray it with penetrating fluid and allow it to sit. Apply a few gentle taps on the screwdriver with a wrench, re-tighten the cap and try again.
With the screw out, remove the filler cap. The insert will probably remain stuck to the fount or tank. Pull it off, or gently pry it off with a screwdriver if necessary.
 Set the filler cap insert down on something you can safely apply flame to, like a stove brick or a large area of dirt. You NEED eye protection because it is going to spit at you when heated.
Take a propane torch and apply flame directly to the insert. It is made of brass so don't worry about damaging it. Allow the flame to make the insert glow a little bit.
Allow it to cool. Once you can touch it again, use the small flat tip screwdriver to clean the bottom and edges of the trough, followed by a brush to remove all the dirt and dust. Clean the surfaces as best you can to ensure the new gasket has bare metal to rest against.
Set the new gasket down on the insert and use your small flat tip screwdriver to gently press it down evenly all around. A properly fitting gasket will fit nicely in the groove.
Place the insert on the fount or tank. Then place the filler cap over the insert and turn it until it just starts getting tight. Now you can take the center screw and install it. When the screw begins to get tight and you feel the insert starting to turn, tighten the cap down as much as you can with your fingers. Re-tighten the center screw until tight.
Note: The small gap between the screw and the cap is intentional.
2. How to Replace a 1-Piece Filler Cap Gasket. (YouTube video here)
* Note: You can burn this gasket out if you want to, but doing so will destroy the finish on the cap.
To replace this gasket, you'll need:
a. A new gasket
b. Assorted small flat tip screwdrivers and dental picks
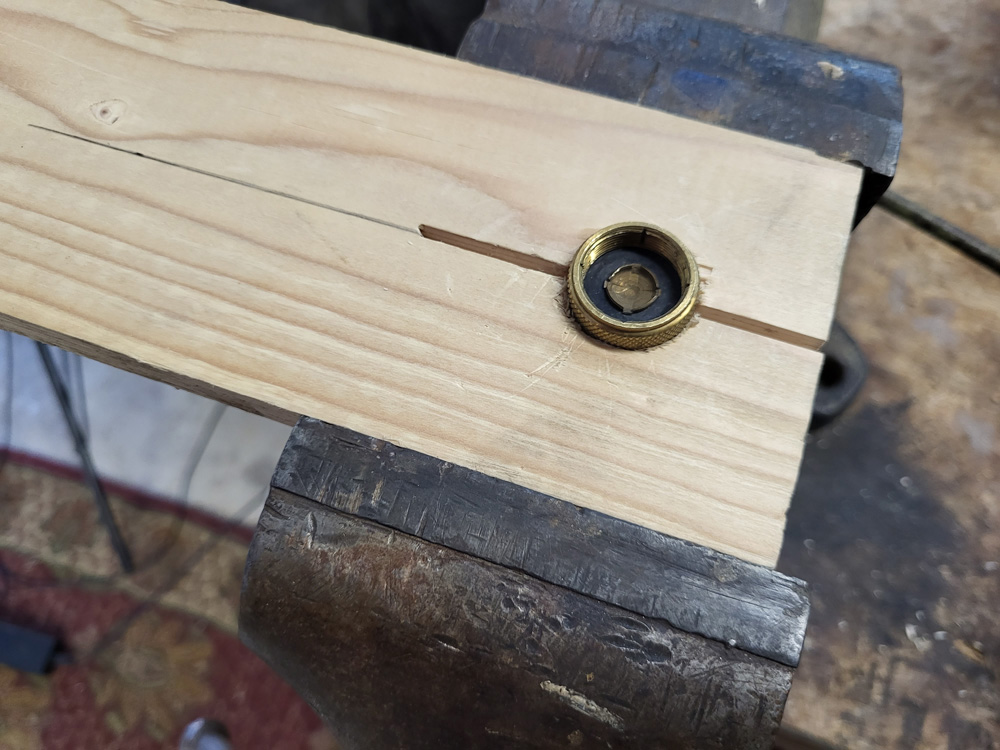
c. Rory's cap holder* (recommended, build it here.)
d. Oven
e. Drill with a small bit
![]() * Using a sharp object with the force required to remove the old gasket can be extremely dangerous. This special tool holds the cap firmly while you work on it.
* Using a sharp object with the force required to remove the old gasket can be extremely dangerous. This special tool holds the cap firmly while you work on it.
The gasket in a 1-piece filler cap is very thick and you need to get a tool under it to lift it out. Place the cap in an oven set at about 140 degrees to soften the rubber somewhat.
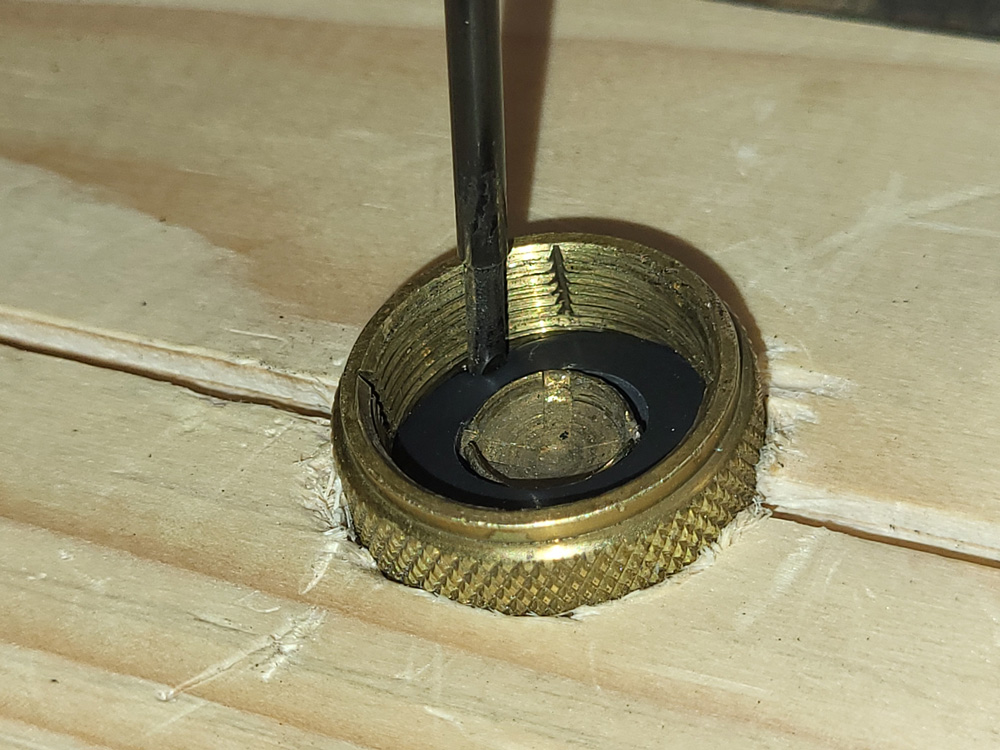
Set the filler cap in Rory's cap holder, or on a solid surface. (Fig 1)
Choose an entry point anywhere along the gasket. Place that small drill bit on the center of the gasket, and slowly turn the drill chuck. This is you cutting tool and it will get you to the bottom of the gasket.
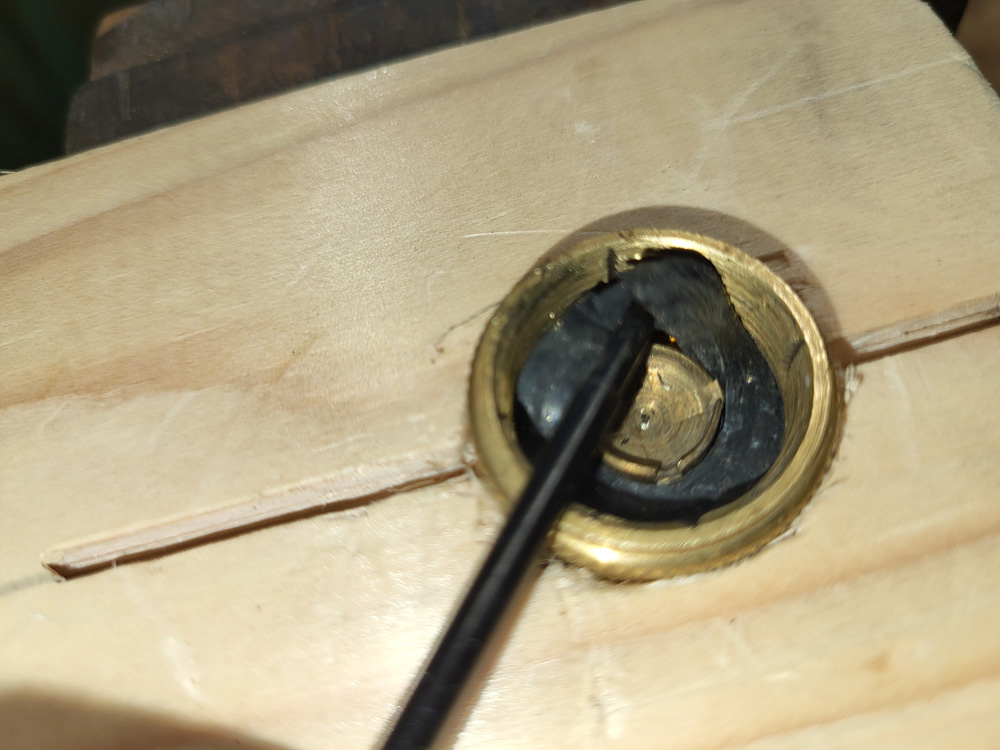
Firmly press your pick down in the small hole you just created (Fig 2).
![]() Be careful with the threads on the cap. If you get too aggressive trying to get the gasket out, you can score them and make the cap really difficult to install on the lantern or stove.
Be careful with the threads on the cap. If you get too aggressive trying to get the gasket out, you can score them and make the cap really difficult to install on the lantern or stove.
While maintaining your firm downward pressure, tilt the screwdriver blade at about a 30-degree angle and the attempt to slide the bottom of the blade under the center of the old gasket. (Fig 3)
 |
 |
 |
Fig 1 |
Fig 2 |
Fig 3 |
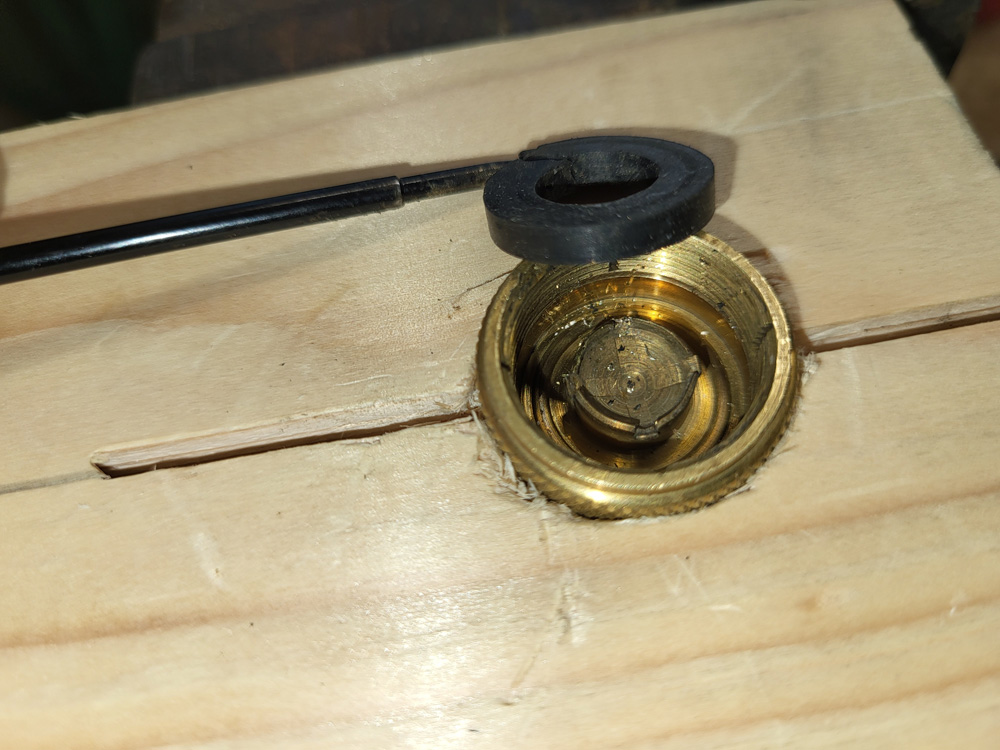
Manipulate the pick until you see the old gasket start to lift (Fig 4), then go after that spot and continue to pull it up and out. (Fig 5)
If you are replacing a gasket on a cap that is from the 1970s or 1980s, you can expect to see a very hard gasket, and it will probably need to be broken out in pieces. (Fig 6) Take your time and be careful of the cap's threads!
 |
 |
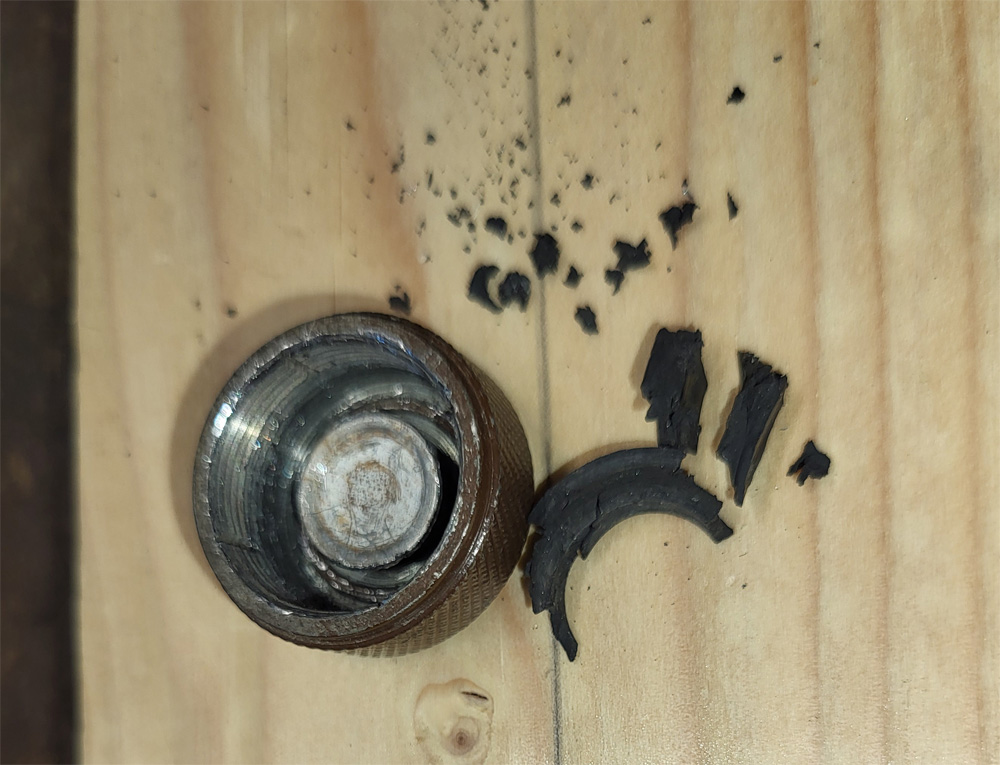 |
Fig 4 |
Fig 5 |
Fig 6 |
Now set the new gasket down on the cap. Start pressing it down along the edges with your screwdriver to get it started. Once it gets started, press down around the edges all around it. Make sure that the entire gasket sits flat.
Not all 1-piece caps are the same, as seen in the image below. The cap on the left is from a 1976 Coleman 275 lantern while the one on the right is a modern replacement cap from approximately 2021.
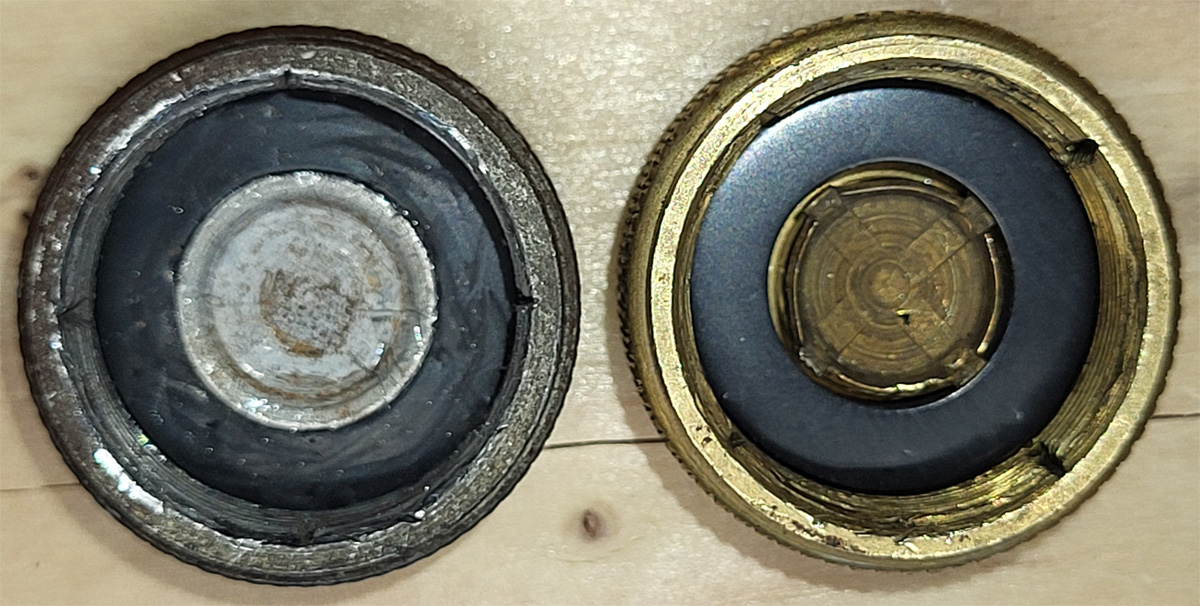
Notice how the inside diameter of the gasket is not tight on the newer cap (click to enlarge). The gasket does make full contact with the outside edge and it does hold the gasket in place. But in this instance, I placed a very small amount of adhesive on the underside of the gasket as insurance.
Did you find this information useful? Click here to support the Old Town Coleman Center with a cup of coffee!